You can rotate, crop, and flip images in Media following the steps in this guide. If you wish to crop, rotate, or resize a specific image already inserted into a page or post via an Image block, see this guide instead.
In this guide
Your site must be set to public to access the image editing tools described in this guide. These image editing tools are not available when a site is set to private.
Follow these steps to open and edit an image in your Media Library.
Select the appropriate tab for your admin interface style:
- Visit your site’s dashboard.
- Select Media.
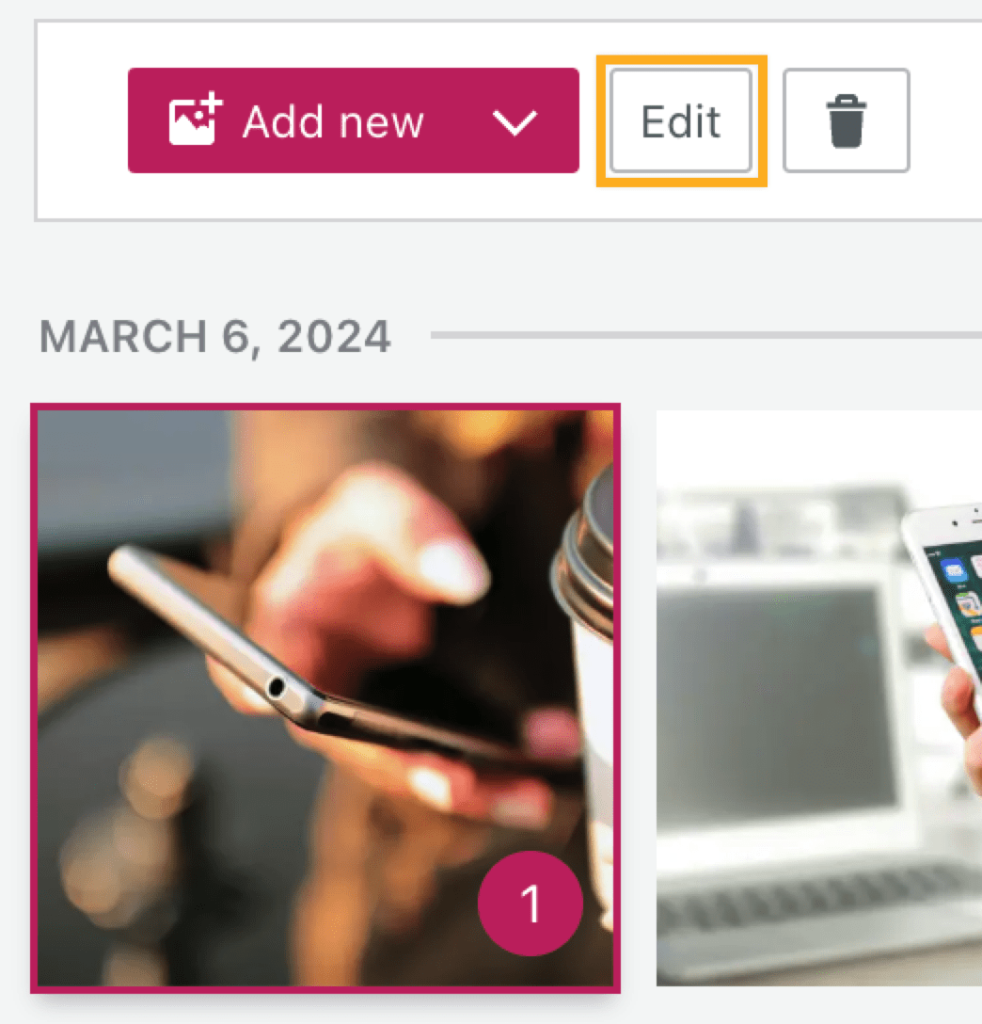
- Click on the image file you want to edit. You will know the image has been selected because of the border that appears around the image and the number in the bottom right corner.
- Click the Edit button. This will open a window with various details about the image, including title, caption, alt text, description, and image URL.
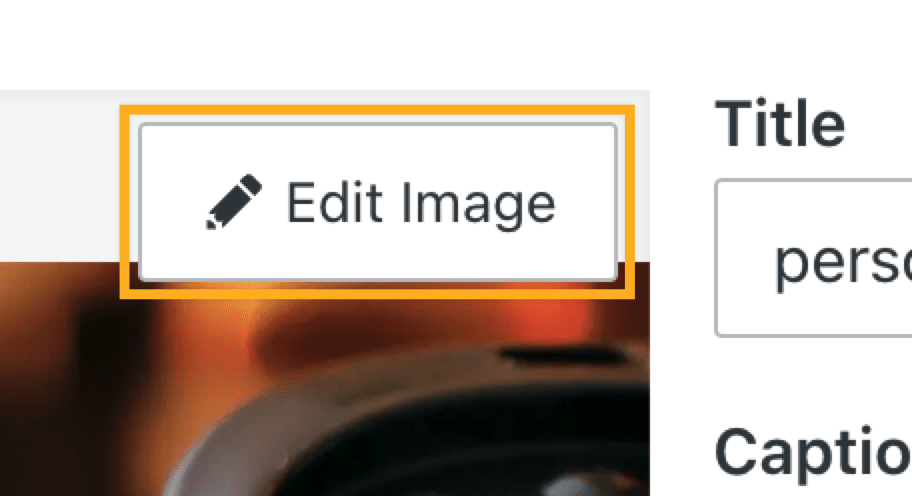
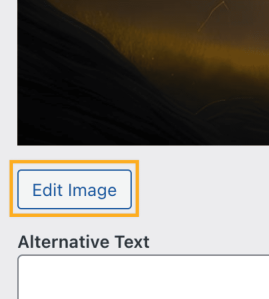
- On the window that opens up, click the Edit Image button:
You can rotate, crop, or flip an image in the image editor.
Select the appropriate tab for your admin interface style:
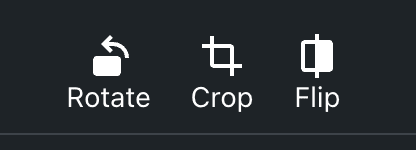
Once you have opened an image to edit, you will have three icons below the image. The icons allow you to rotate, crop, or flip the image.
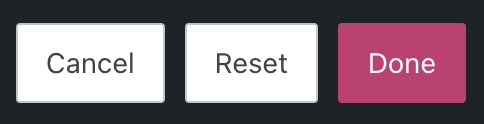
Click the “Done” button when finished, Reset to start from scratch with that image, or Cancel to exit the image editor.
Rotate an Image
You can rotate images by clicking on the Rotate button. Each time you click Rotate, the image rotates 90 degrees counterclockwise.
Crop an Image
You can crop a photo to remove an unwanted portion of the image.
First, click and drag the corners of the cropping overlay to select a freeform area you want to keep for your image. You can also click on the Crop button and choose one of the following aspect ratios to crop automatically:
- Original
- Square
- 16:9
- 4:3
- 3:2
Flip an Image
You can flip images horizontally by clicking on the Flip button.
Once you edit the image, click the “Done” button to save your changes. You can also click Reset to start from scratch or Cancel to exit the image editor without saving your changes.

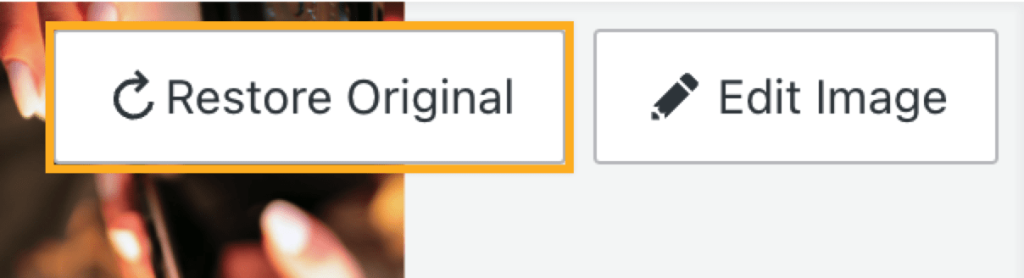
If you want to revert the edits made to an image, you can cancel your edits and revert to the original version that you first uploaded to Media.
⚠️
If you have inserted an edited image into published pages or posts, reverting an image may break how the image appears there. Make sure to check any pages and posts where you have already inserted the image.
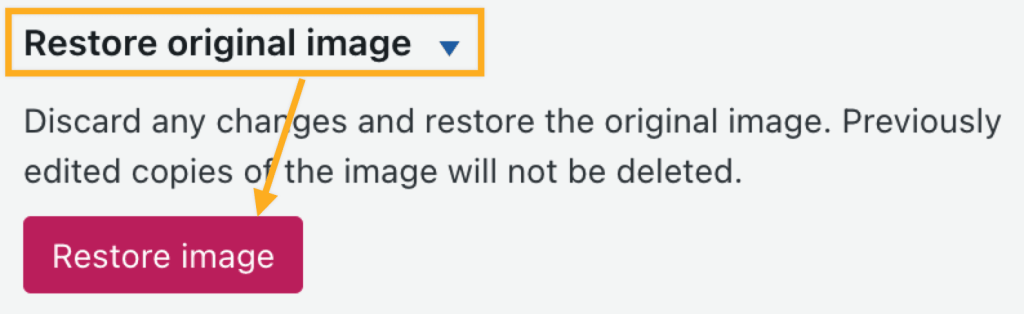
If you’re sure you would like to restore an image, choose the image as described above.
Select the appropriate tab for your admin interface style:
- Visit your site’s dashboard.
- Select Media.
- Click on the image file you want to edit.
- Click the “Edit” button.
- Click the “Restore Original” button:
The changes will take effect immediately.