Google Maps is a popular free tool to display maps and directions. This guide will show you how to embed (i.e., display) a Google Map onto your WordPress.com website.
In this guide
You can embed a Google Map onto any page of your WordPress.com site by taking the following steps:
- Visit Google Maps.
- Search any street address or geographic location and click the “Share” button:

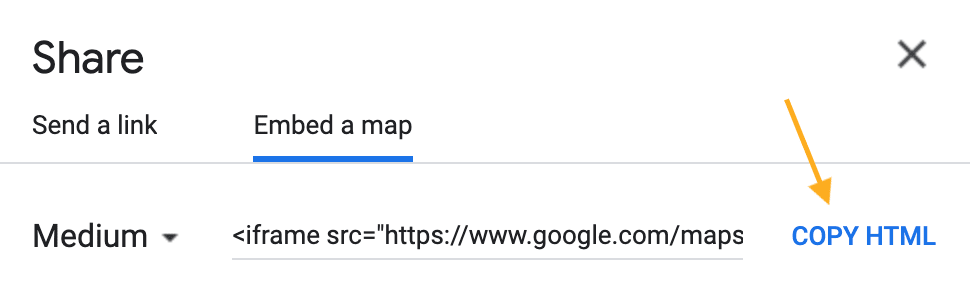
- In the popup that appears, select the “Embed a map” tab.
- Click the “Copy HTML” button to copy the entire HTML code from the box to your computer’s clipboard. The code will begin with
<iframe.
- Open your website’s page in the WordPress editor
- Click the + Block Inserter to add a Custom HTML block.
- Paste the full embed code into the block.
- Click the Publish, Update, or Save button to make your map appear on the site.
The next time you edit your page or post, you will notice the embed code has been converted to shortcode:

If your code isn’t working, try using a physical address. Addresses created with longitude and latitude coordinates rather than a physical address may not give you a workable code.
Here is an example of what the embedded map will look like:
Google Maps offers the ability to create your own custom maps with pins, multiple locations, personalized icons, and more. You can embed a custom map onto your website with the following steps:
- Visit My Maps.
- Choose either a map you have already created or create a new one.
- Make the map public using the “Share” option:
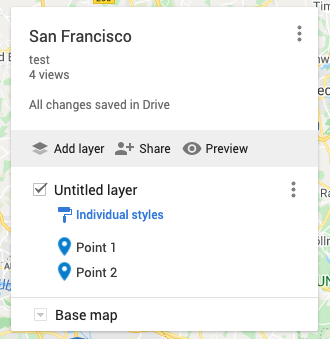
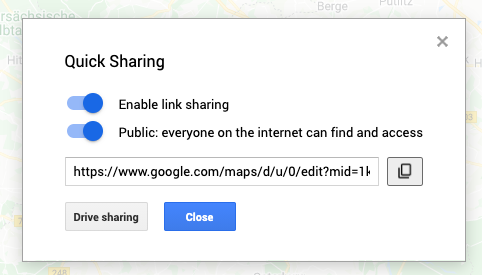
- Click the ellipses (three dots) next to the map name to reveal additional options. A window will appear, as illustrated below:

- Select “Embed on my site” from that list. This will open a window with an embed code. Copy the entire code.

- Add the embed code to your site following the same steps for a regular map.

