You can conveniently manage multiple websites under one login. This guide will show you how to create and switch between different sites in your WordPress.com account.
In this guide
When you sign up to WordPress.com, we’ll automatically create your first site for you.
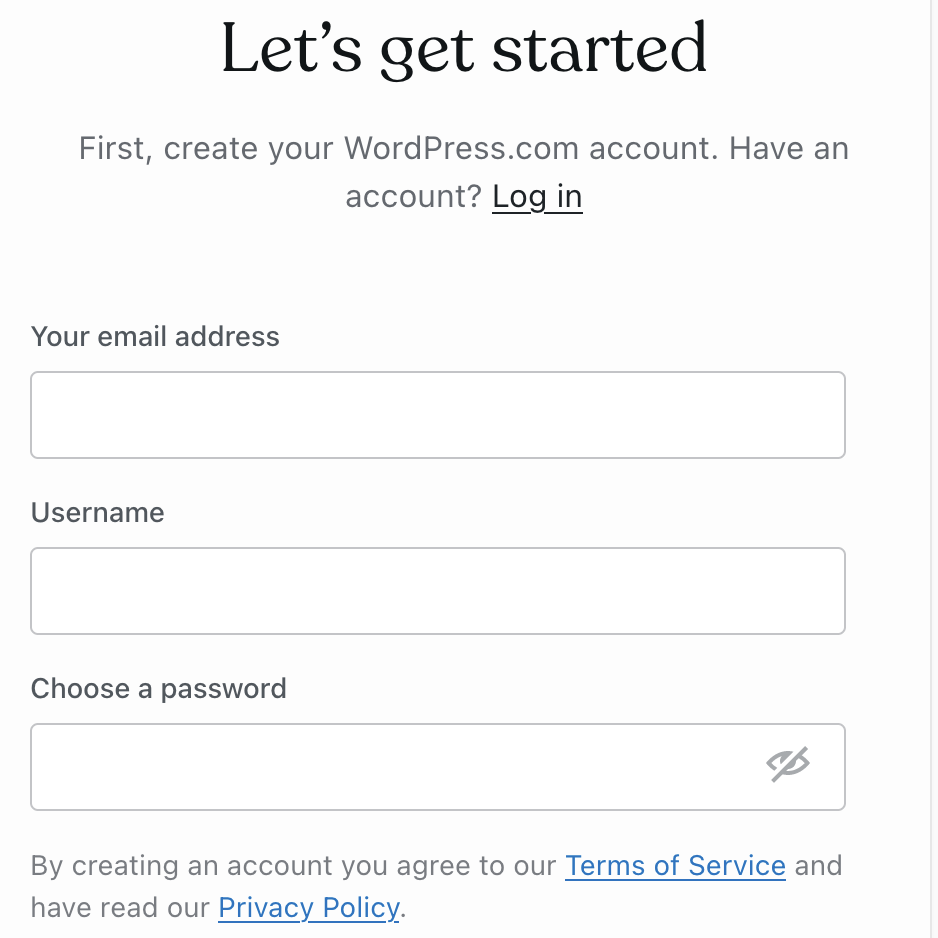
If you don’t already have a WordPress.com account, fill out this signup form to provide an email address, a username, and password.
In the next steps, you’ll be asked for your website address (known as a domain.) You can create a new domain, connect a domain you already own, or continue with a free .wordpress.com site address.
Lastly, you’ll select a WordPress.com plan to set up your new website.
Click this link to start an additional website in your existing account. Alternatively, follow the steps below:
- Log in to your account (if you are not already logged in.)
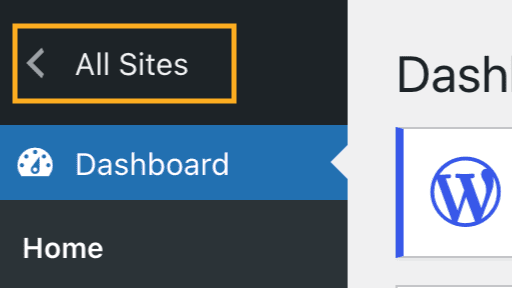
- If you are now viewing your site’s dashboard, click the “All sites” link in the upper left corner to visit the Sites page:
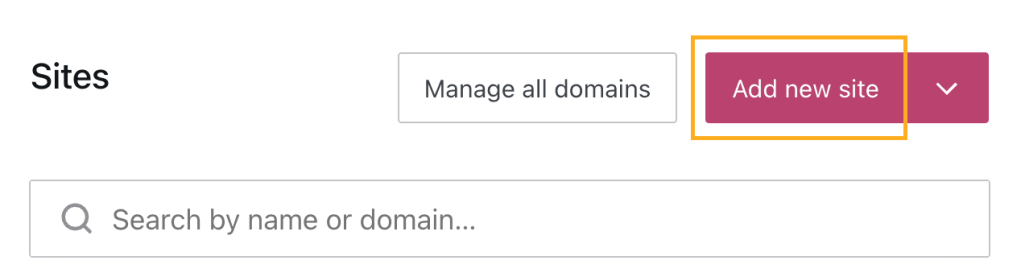
- Click the “Add new site” button in the upper right corner:
- Just like you did for your first site, select a domain and a WordPress.com plan for this new site to finish creating it.
- A plan applies to one site only. One plan cannot be shared across multiple websites.
Each site will be completely independent of each other, with different designs, domains, subscribers, and settings. Alternatively, you can create a copy of an existing site.
With multiple websites under your account, you can switch from one site to the other by taking these steps:
- Visit any of your sites’ dashboards.
- Click the “All sites” option in the upper left corner to visit the Sites page.
- Select the website you wish to work on to be taken to that site’s dashboard.
If you have registered a new domain name on your existing site but meant to create a new site for that domain, you can move the domain to the correct site:
- Click the “Add new site” button as explained in the section above.
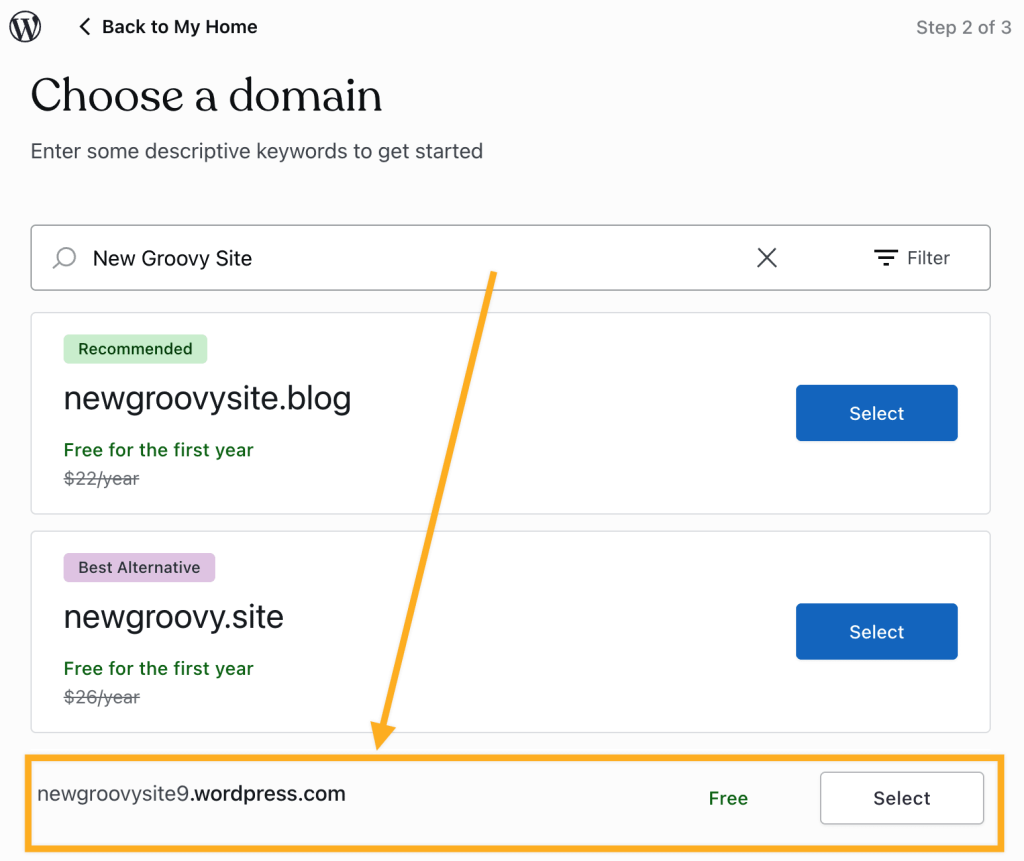
- When asked for a domain, do not enter your domain yet. Since the domain name is already attached to a different site, select the free
.wordpress.comaddress for now – you’ll find that option further down the list:
- Select a WordPress.com plan for your new site and complete the site creation process.
- Return to your dashboard.
- Switch to the site that currently has the domain.
- Navigate to Upgrades → Domains (or Hosting → Domains if using WP-Admin).
- Select your domain.
- Look for the “Transfer” option and select “To another WordPress.com site.”
- Transfer the domain to the new site you just created, then make it the primary address.
Visit our guide to Move a Domain to Another WordPress.com Site for more.
If you wish to move a plan from one site you own to another, you can transfer the site itself and the plan will move with it. If you need to move your plan only, while remaining as the site owner, contact support for assistance.
Transferring a plan from one admin to another is not possible without the current subscription owner contacting support.
Alternatively, the subscription owner can cancel the plan and the new subscription owner can purchase a new plan.

